

Introduction
To understand how to clean rubber stamps safely, start by stamping off excess ink, then gently clean the printing face with a method approved for both the ink and the stamp. Allow it to dry before re-inking or storage. For water-soluble ink that the manufacturer permits to be cleaned with water, use a barely damp, lint-free cloth.
Keep water away from the wooden handle and glued mount. If you need a special cleaner, test its compatibility with both the ink and the stamp material first.
Self-inking and pre-inked stamps need their own care instructions. The wet-cleaning routine below is for conventional rubber stamps with a separate ink pad; it is not for ink reservoirs, flash pre-inked stamps, or postage stamps.

Identify the stamp and ink before cleaning
Look for a model name on the body and a product name on the ink pad or refill bottle. A stamp’s transparent appearance, ink color, or impression alone does not establish its cleaning compatibility.
🔎 Check three things:
- The printing face: rubber, clear photopolymer, silicone, or another material specified by the maker. An acrylic mounting block is a different component from the printing face attached to it.
- The ink: read its actual cleaning directions. “Pigment,” “permanent,” and “archival” are not enough information to choose a household solvent.
- The construction: a separate-pad stamp, a self-inking mechanism with an internal pad, or a pre-inked face that contains ink. Also check for wood, foam cushioning, and glued joints.

| What you have | A suitable starting point | What needs checking |
| Separate-pad rubber stamp with water-soluble ink approved for water cleanup | Stamp off, then gently surface-wipe with a barely damp cloth | Keep the mount dry; use soap only where the maker permits it |
| Rubber stamp with stubborn pigment, permanent or solvent ink | A cleaner approved for that ink and rubber face | Follow the specific application and residue-removal directions |
| Clear stamp on an acrylic block | The stamp maker’s care directions and a compatible cleaner | Clear materials differ; rubber compatibility does not establish clear-stamp compatibility |
| Self-inking stamp with an internal pad | The model’s access and maintenance instructions | Whether the pad can be removed and how the face is exposed |
| Pre-inked or flash stamp | The exact model’s surface-care instructions | Whether any liquid is allowed; do not flush the ink-bearing face |
| Unknown stamp or unlabeled ink | Find the model or ink information before wet cleaning | Do not experiment with stronger chemicals to identify the ink |

“From a manufacturer’s perspective, identifying the stamp material is just as important as identifying the ink. Two stamps may look similar but use different rubber compounds, mounting materials, or adhesive layers. A cleaning method that works for one design may not be suitable for another. This is why material compatibility should always come before choosing a cleaning solution.”
——Julia Lee
Stationery Manufacturing Specialist
CEO of Anhui Honeyoung Enterprise Co., Ltd.
Clean a Conventional Rubber Stamp and Separate Pad
Set out scrap paper, a clean lint-free cloth, and a dry cloth. Add a compatible stamp cleaner only if needed. Work on the printing face and keep liquid away from the handle, cushioning, and adhesive.
1. Cleaning Steps

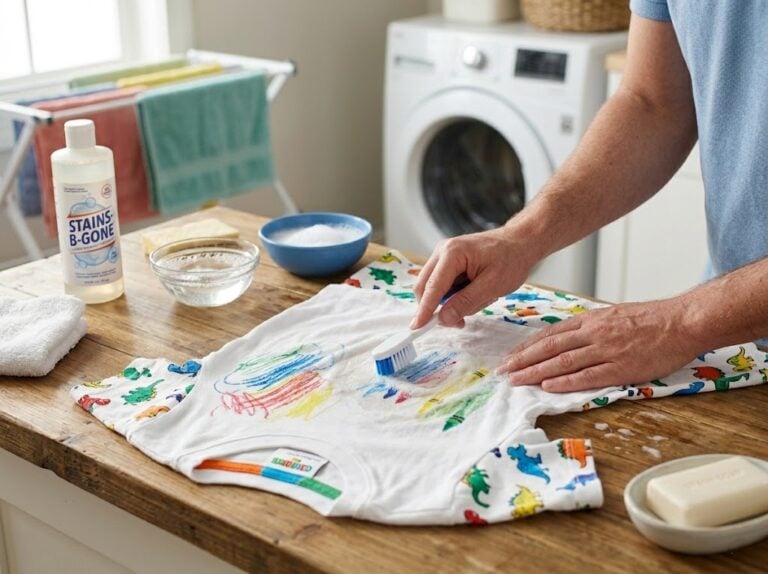
Figure. Original schematic for separate-pad rubber stamps only. Cleaner compatibility and the manufacturer’s residue-removal directions take priority over this general sequence.
- Press the stamp onto scrap paper to remove excess ink. Use a fresh area of paper as the impressions become lighter. This step applies to separate-pad stamps; an internal pad lets you re-ink a self-inking stamp.
- For water-soluble ink approved for water cleanup, lightly dampen the cloth and gently wipe the face. The cloth should not drip. Turn to a clean section so that you lift ink away instead of spreading it back.
- If residue remains, use the approved cleaner as its label directs. A soft stamp-cleaning pad or soft brush can help with recesses if the stamp maker allows it. Do not force a brush into fine lettering or scrape it with a sharp tool.
- Remove soap or cleaner residue using the method permitted for that assembly. A label’s rinse instruction does not justify putting a wood-mounted stamp under the tap. If the required rinse conflicts with the mount’s care instructions, choose another compatible method or obtain model-specific guidance.
- Blot moisture with a dry cloth, then let the face dry before re-inking. Test on scrap paper before returning to the finished piece.
💡 Tip: Keep the complete wooden assembly out of water. The US National Park Service explains in Curatorial Care of Wooden Objects that wood expands as it absorbs moisture and contracts as it releases it. This material guidance supports protecting the wooden mount; it does not test a modern stamp’s adhesive or approve a particular cleaner.
The Canadian Conservation Institute explains in Caring for Plastics and Rubbers that organic solvents and surfactants can extract additives from rubber, and that plastics have different vulnerabilities. Its guidance concerns conservation materials, not tests of individual stamp-and-cleaner combinations. It gives a material reason to check compatibility before trying a stronger household product.
2. When water does not remove the ink
Check the ink’s directions for the named cleaner, application, and residue removal.
A cleaner that dissolves the ink may still be unsuitable for the printing face, cushion, or mount.
Confirm that the stamp permits the entire cleanup procedure, including any required rinse.
The Canadian Conservation Institute explains in Caring for Plastics and Rubbers that organic solvents and surfactants can extract additives from rubber, and that plastics have different vulnerabilities.
Its guidance concerns conservation materials, not tests of individual stamp-and-cleaner combinations.
It gives a material reason to check compatibility before trying a stronger household product.
Do not improvise with rubbing alcohol, nail-polish remover, bleach, or window cleaner unless the stamp manufacturer explicitly approves that product for the exact model.
There is no useful universal soaking time or solvent recipe for the different assemblies sold as rubber stamps.
⚠️ Note:
A self-inking stamp brings its face into contact with an internal ink pad. Expose the face, lock the mechanism, or remove the pad only as the model instructions allow.
Keep cleaning fluid out of the pad and moving parts. Reassemble only after the permitted cleaning process is complete, and the face is dry.
A pre-inked stamp carries ink in the printing material or an associated reservoir. Removing the ink from that material is not the aim of routine cleaning. Avoid soaking it, flushing it, or applying the separate-pad routine by default.
If the impression is faint, check the specified refill or replacement pad rather than treating faintness as proof that the stamp needs washing. Use the maker’s compatible ink and maintenance procedure.
How to Check a Rubber Stamp After Cleaning
Cleaning does not always remove every ink stain, and a discoloured stamp is not necessarily a damaged one. After cleaning, check whether any removable ink residue remains, inspect the stamp surface for signs of damage, and test a fresh impression. These checks help determine whether the stamp is ready for reuse or needs further attention.
1. Check for Remaining Ink Transfer
Check the stamp surface for any residual ink that could still be transferred.
- Gently press a clean piece of scrap paper against the dry stamp surface.
- Observe whether any unwanted ink residue appears on the paper.
- If significant ink transfer still occurs, it indicates that removable residue may remain; further treatment is required, following the compatibility guidelines for the specific stamp ink and stamp material.

2. Inspect the Stamp Surface
Inspect the surface of the stamp for any damage or irregularities.
- Check that fine text, patterns, and edges are intact.
- Look for any fibers, paper scraps, or other foreign matter lodged in the grooves.
- Observe the rubber for signs of deformation, stickiness, swelling, or any other surface abnormalities.
Note: Do not scrub the stamp repeatedly in an attempt to remove permanent stains that have penetrated the material, as this may damage the stamping surface.

3. Test the Next Impression
Retest the stamping performance.
- Ensure the stamp surface is completely dry before re-inking it with a compatible ink pad.
- Perform the test on paper that is the same as, or similar to, the paper intended for actual use.
- Evaluate the completeness of the design, the sharpness of the lines, the definition of the edges, and the evenness of the ink distribution.
- If gaps or blurring persist, investigate the ink pad, ink, stamping pressure, and paper—rather than simply increasing the intensity of the cleaning process.

A clean stamp is only one part of achieving a clear, consistent impression. The paper also plays an important role in how ink spreads, dries, and appears on the finished surface. Different paper types have different textures, absorbency, and thickness, which can affect stamping results. To better understand how paper properties influence printing and other stationery applications, explore our guide to20 Different Types of Paper and Uses: The Ultimate Guide.
Include care information in a bulk stamp specification
For an importer or wholesaler, a care card should identify the supplied stamp-and-ink combination. “Easy to clean” leaves the customer to guess which parts can get wet and which cleaner is compatible.
The following is an editorial checklist for sample approval, not a report of a Honeyoung test or a promise of a particular service.

| Information to record | What the buyer should be able to confirm |
| Model and printing-face material | Which component is rubber, polymer, or another material; identify the mount separately |
| Ink and refill identification | The actual supplied ink, approved refill, and intended printing surface |
| Cleaning method | Compatible cleaner, permitted contact area, and how residue is removed |
| Service access | Whether a pad is removable and which parts users may open |
| Care-card wording | Clear cleaning, drying, and storage directions for that model |
| Sample check | A recorded before-and-after impression on the intended paper; agree acceptance criteria before testing |
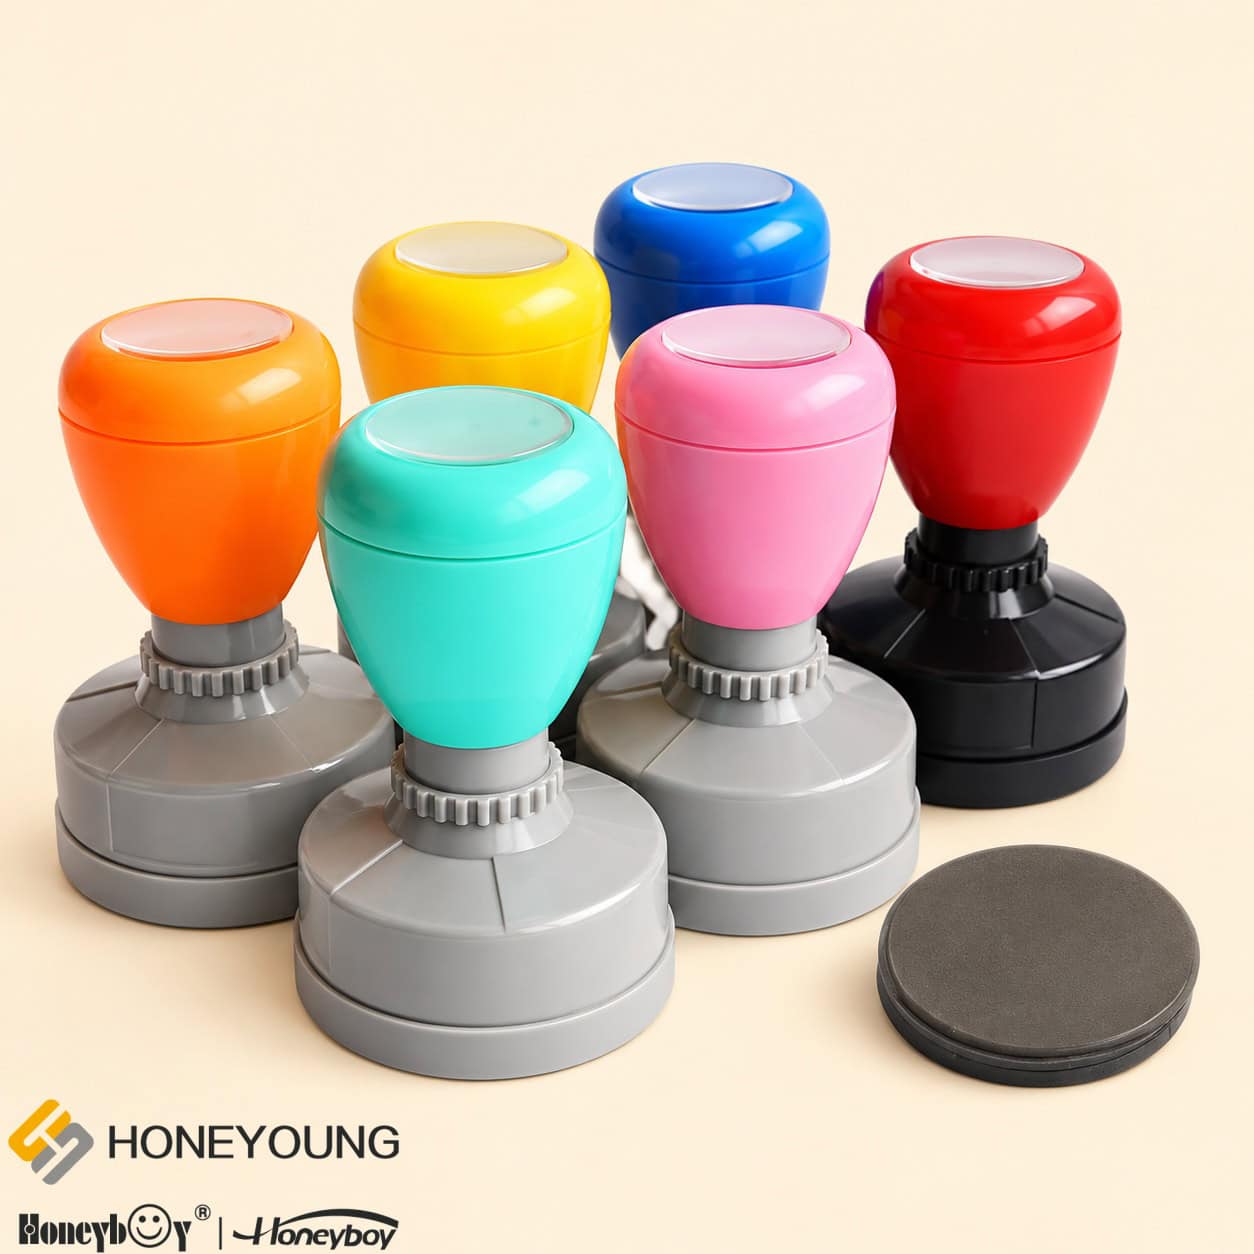
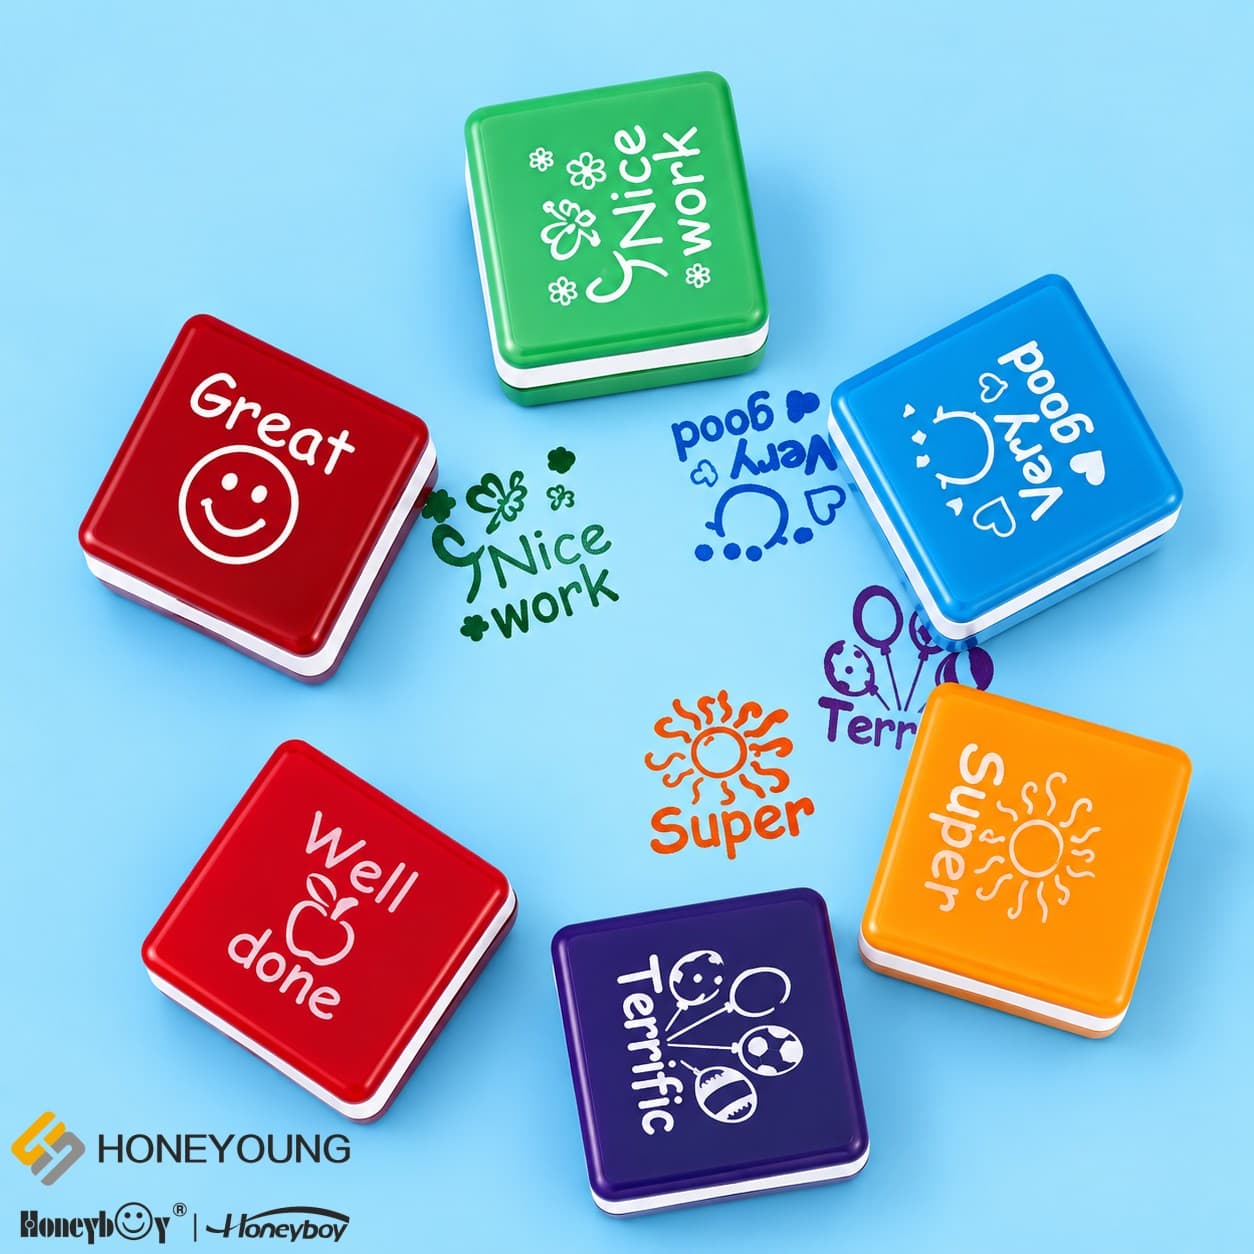
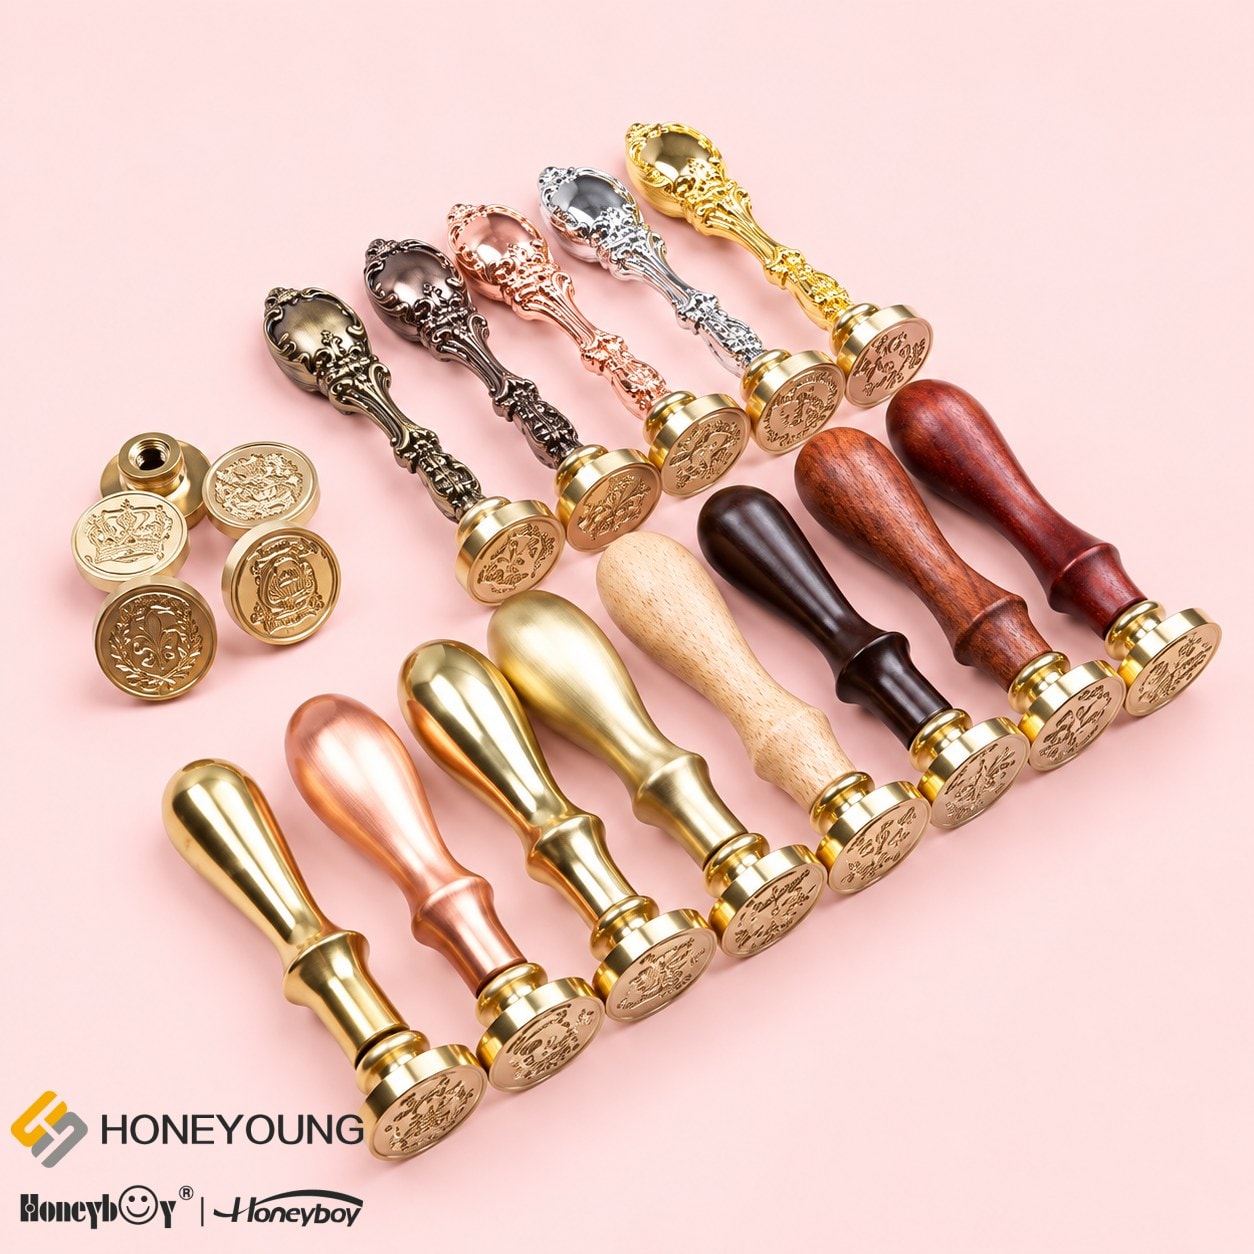
Honeyoung Stationery presents a stationery range that includes stamps and pads. Its Stamp & Stamp Pad range lists traditional rubber, self-inking, and pre-inked formats. These have different constructions, so the product category name shouldn’t use a single cleaning instruction for the entire range.
Before approving a retail care card, confirm the stamp, ink, and care method together. A cleaner that removes the ink but conflicts with the mount leaves the specification incomplete. This purchasing recommendation follows the compatibility issues above; it does not claim any factory trial or customer outcome.
“From a manufacturer’s perspective, identifying the stamp material is just as important as identifying the ink. Two stamps may look similar but use different rubber compounds, mounting materials, or adhesive layers. A cleaning method that works for one design may not be suitable for another. This is why material compatibility should always come before choosing a cleaning solution.”
——Julia Lee
Stationery Manufacturing Specialist
CEO of Anhui Honeyoung Enterprise Co., Ltd.
FAQ
Is a self-inking stamp the same as a pre-inked stamp?
A self-inking stamp uses an internal ink pad, while a pre-inked stamp carries ink in its printing material or reservoir. The distinction affects maintenance: a removable pad procedure does not explain how to clean an ink-bearing face. Identify the actual model before opening it.
Can I use rubbing alcohol to clean rubber stamps?
Use rubbing alcohol only when the current instructions for your exact stamp explicitly permit it. Rubber, clear polymers, adhesives, and ink reservoirs have different requirements. A generic household alcohol recommendation cannot establish compatibility with the assembled stamp.
Are baby wipes suitable for rubber stamps?
Use a baby wipe only if the stamp’s care instructions allow that type of wipe. An “alcohol-free” label alone does not establish compatibility with the ink, printing face, or adhesive. Check for lint and residue, and keep wipes away from internal ink pads. Where water cleanup is permitted, a barely damp lint-free cloth avoids the extra ingredients in a wipe.
Can I use mild soap instead of stamp cleaner?
Mild soap can be suitable for a conventional rubber face where its care instructions permit it, but it is not a substitute for every ink-specific cleaner. Use it for the approved surface-cleaning method, remove the residue, and keep the wooden mount out of the water.
Does a clear stamp use the same cleaner as rubber?
A clear stamp needs a cleaner approved for its actual material. A clear mounting block and the attached printing face are separate parts, and compatibility with one does not guarantee compatibility with the other. Check both the ink’s cleanup instructions and the stamp maker’s restrictions.
How do I clean dried ink from fine lettering?
Use the cleaner specified for the dried ink and stamp face, then gently lift loosened residue with a permitted soft cleaning tool. Follow the cleaner’s own contact instructions instead of inventing a soak time. Stop if the face is cracked, lifting, or shedding material.
Must an ink-stained stamp look new before I reuse it?
An ink-stained stamp can be usable once transferable ink and cleaning residue have been removed. Check for residual transfer and a legible test impression before deciding to clean it again. Extra scrubbing to remove permanent discoloration can damage fine details without improving the print.
Should I clean a stamp after each impression?
A separate-pad rubber stamp generally needs cleaning at the end of a session or before changing colors, rather than after every impression in the same run. Fast-drying specialty inks may require prompt cleanup. Follow their instructions; routine cleaning of built-in-ink stamps is model-specific.
Can I wash the ink pad while cleaning the stamp?
The ink pad is an ink supply, so do not wash it as part of stamp-face cleaning. A reusable cleaning pad is a different accessory and has its own washing instructions. For a contaminated or exhausted ink pad, follow its replacement or refill procedure.
Why is the impression still poor after cleaning?
A poor impression after cleaning can also involve ink loading, pad condition, pressure, the paper or damage to the face. Let the cleaned face dry, use the specified ink and compare on the same paper. Repeated chemical cleaning will not repair damaged lettering.
What cleaning information should a bulk buyer obtain?
A bulk buyer should obtain care instructions tied to the supplied model, printing material and ink. Record the permitted cleaner, wettable parts, service access and refill identification. Keep an agreed sample impression with the care-card version so later batches can be checked against the same specification.
Which stamp formats does Honeyoung list?
Honeyoung’s Stamp & Stamp Pad page lists traditional rubber stamps, self-inking stamps and pre-inked stamps, alongside custom, date and number formats. This is the company’s public product description, not a compatibility test or a guarantee that every format shares the same material or maintenance procedure.
Can every Honeyoung stamp be cleaned with water?
The Honeyoung Stamp & Stamp Pad page does not establish that every listed stamp can be cleaned with water. Some pad descriptions mention water-based or water-soluble ink, but that does not approve washing every assembled stamp. Cleaning compatibility needs confirmation for the selected model, ink and mount.